5 tips for better night photos.

Night photography can be incredibly difficult to master. Trying to capture the perfect image of the moon, the stars, lightning, or even just dimly lit areas can be a hassle. Night photography can be especially complicated if you are new into the world of photography. We understand your struggles and we want to provide you with a gateway into mastering the secrets of capturing the night sky’s beauty. With the help of Zakk Sheehan, we were able to compile a guide to support you in your journey of learning the art of night photography. 
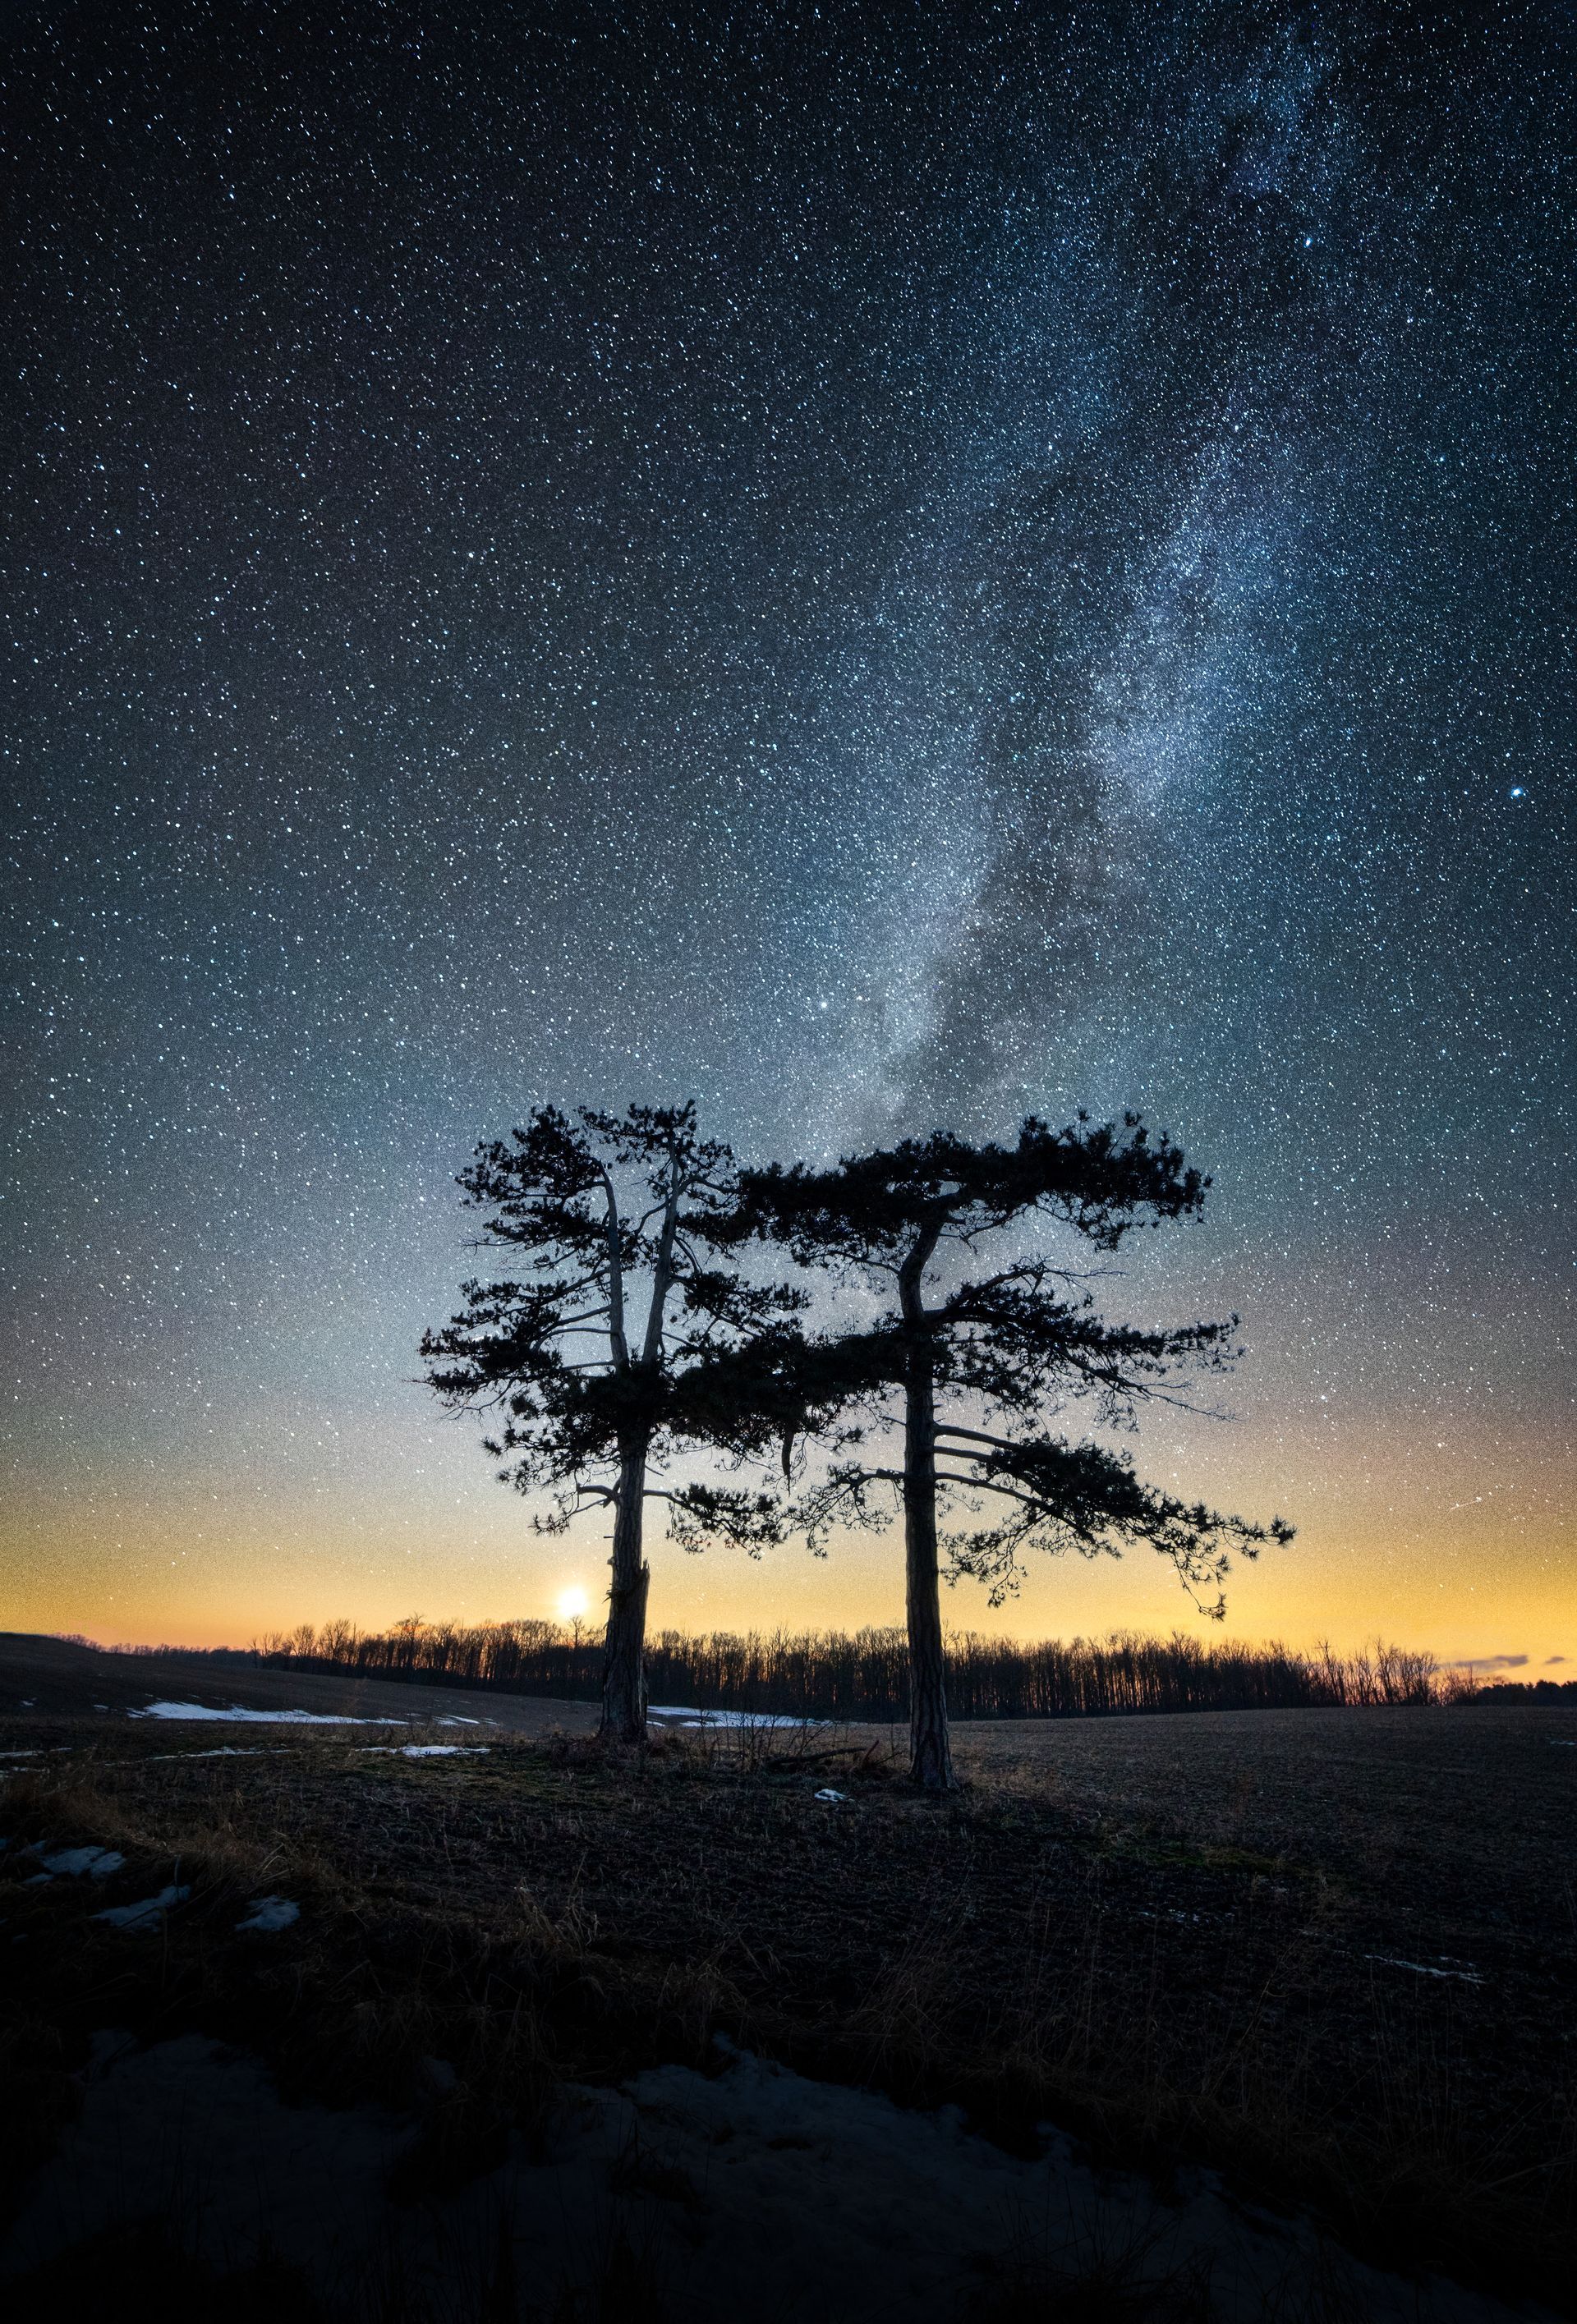

  1. What are the essential camera settings and equipment that should be used for night photography? 

A: Some of the essential camera equipment that you will probably need while shooting night photography includes a fast lens, a sturdy tripod, a remote trigger, and a head lamp. A full frame camera isn’t a necessity in shooting night photography but it helps with the process an immense amount. Aim for a lens that is f/2.8 or faster. Having a sturdy tripod and a remote trigger provides you with a strong base and avoids blur in your photos from camera shake. A star tracker isn’t a necessity in shooting night photography but it helps in gathering as much light as possible for your night shots. In terms of camera settings, be sure to avoid using auto white balance, set it to what appears best. Setting your f-stop pretty low, to approximately f/1.8 or f/1.4, is the most ideal in night photography. ISO is most ideal to start high, to approximately 6400 ISO, since noise is easy to fix. Stacking photos helps resolve noise easily. Shutter speed works well with the 300 rule. The 300 rule involves taking 300 and dividing it by your focal length. For example, (440) 840-5699mm=15 seconds. In this situation, as long as you don’t go past a 15 second shutter, you won’t get star trailing. 
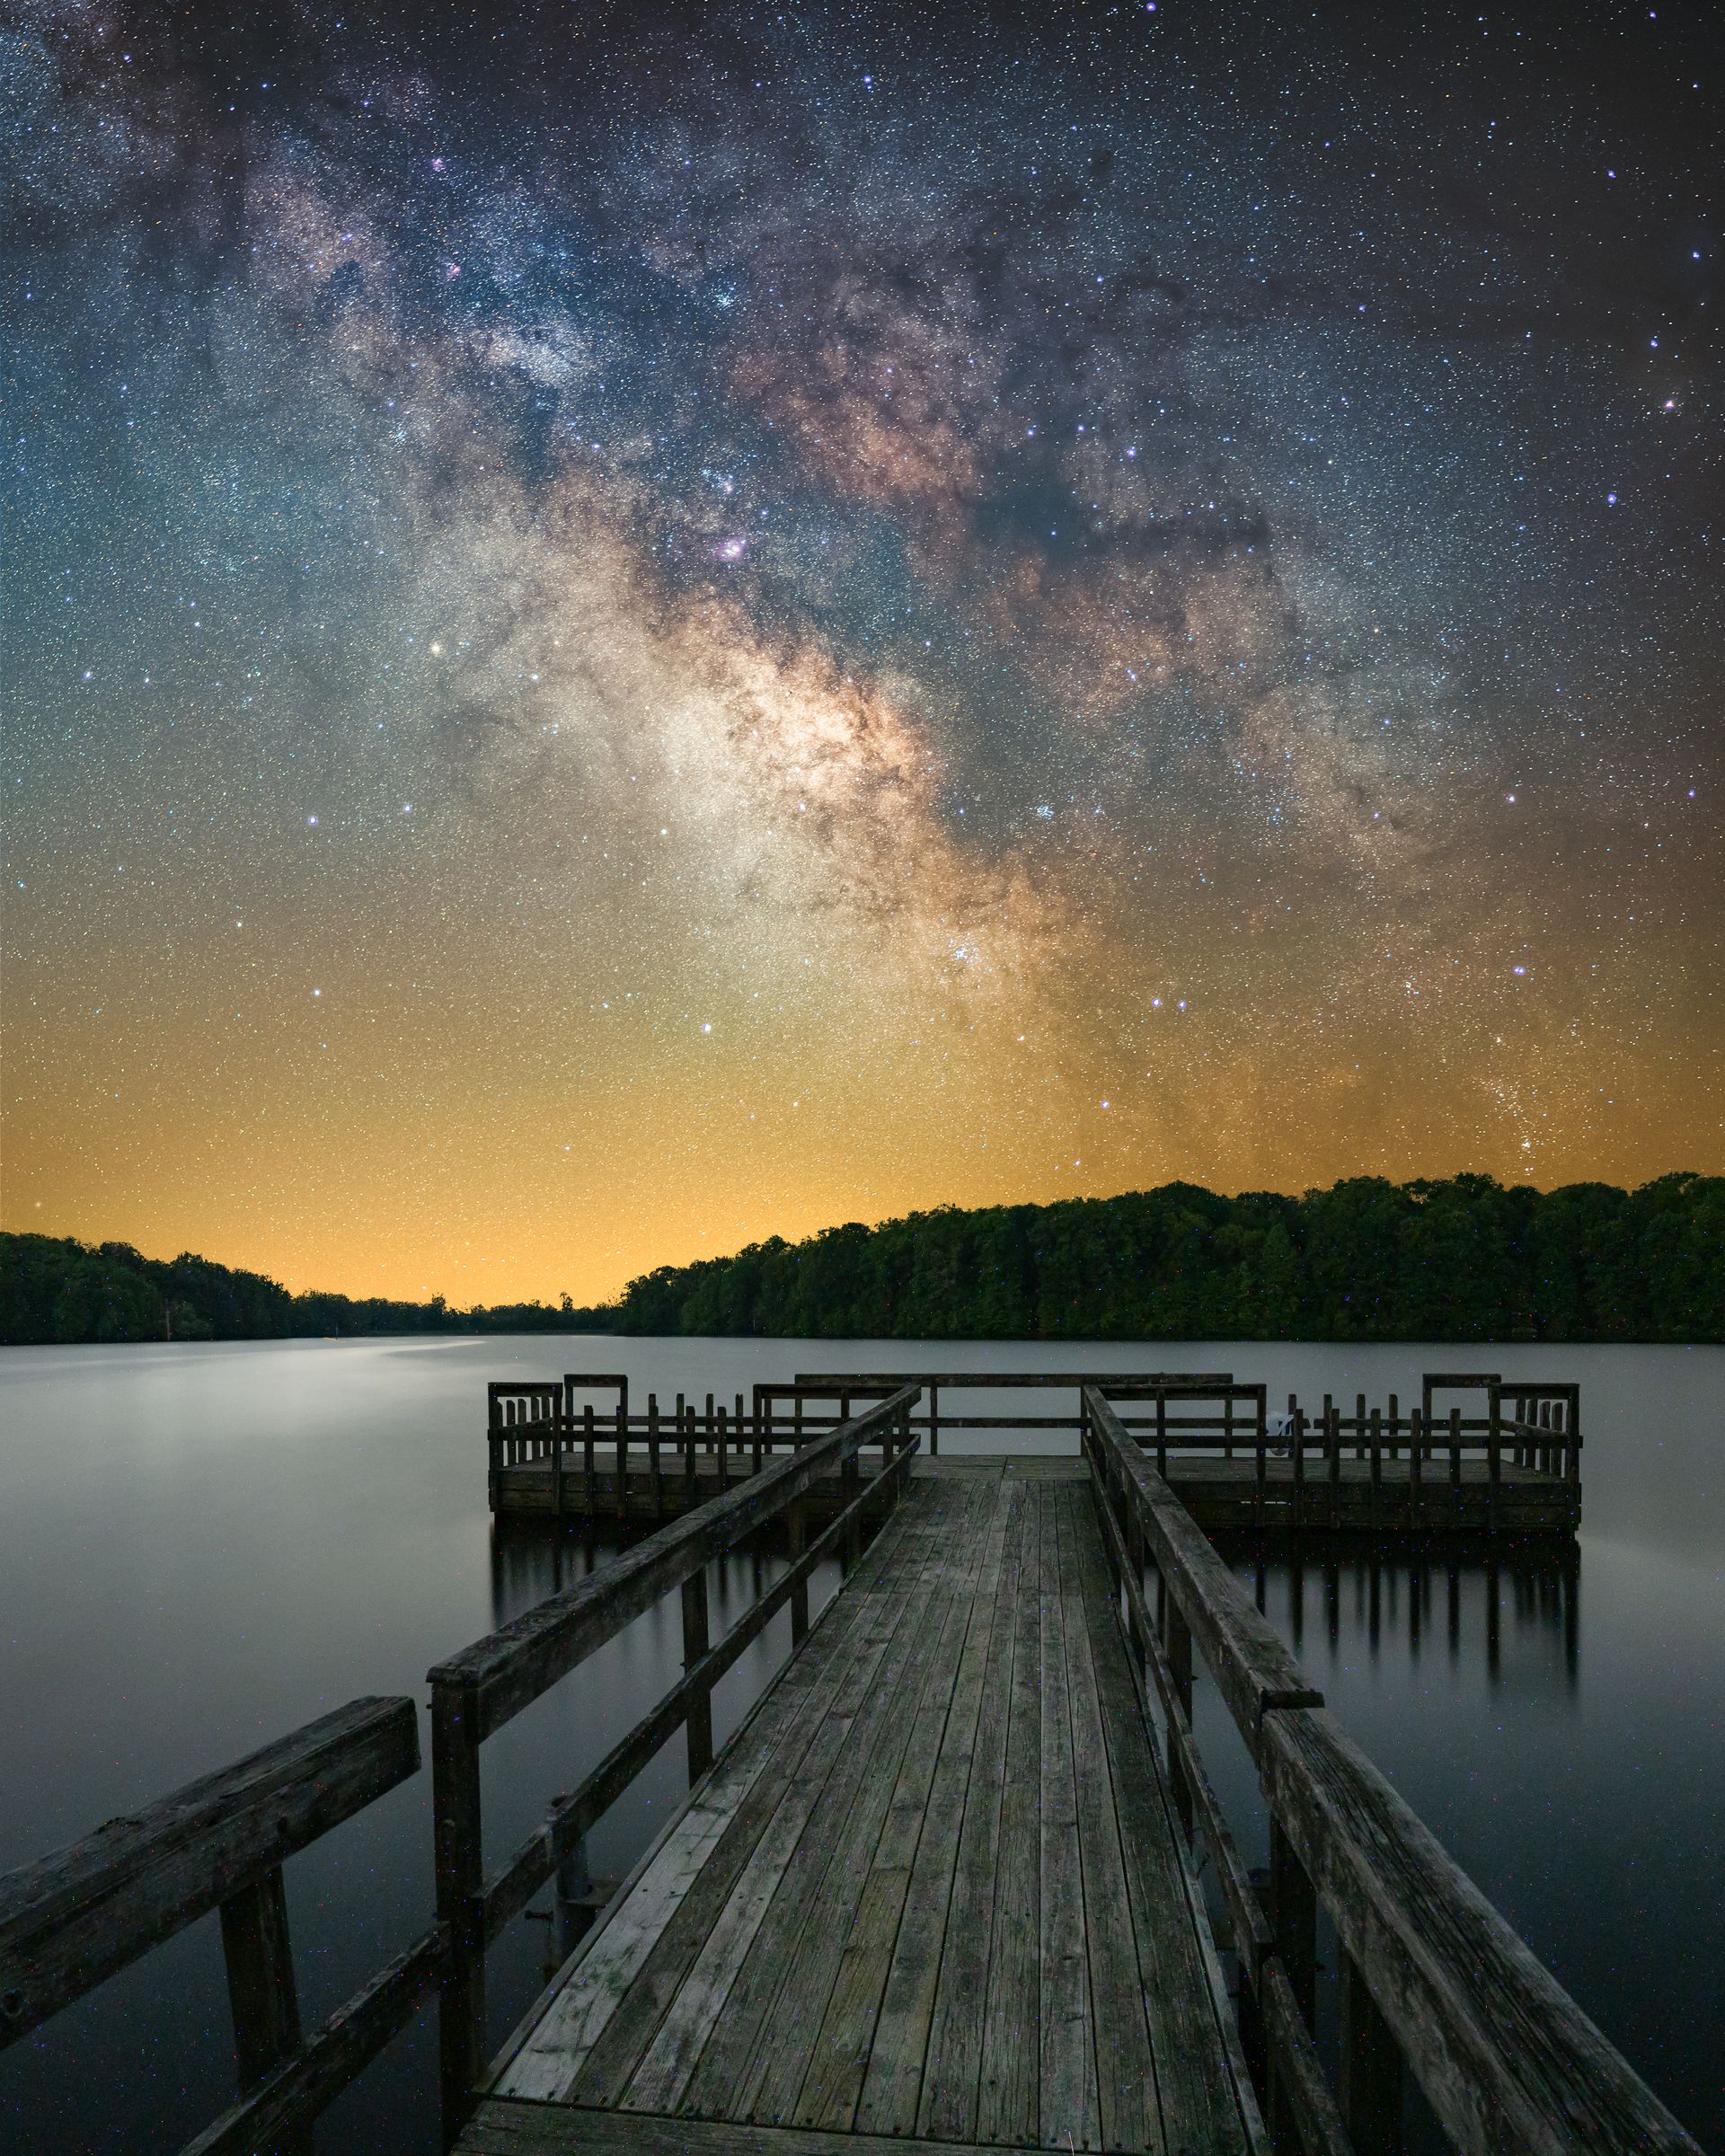

  2: How different is nighttime photography from daytime photography?

A: Night photography is extremely different from day photography. When it comes to photography, light is everything. At night, you are using all of your skills and equipment to get every piece of light possible from pitch blackness to make your image visible. 
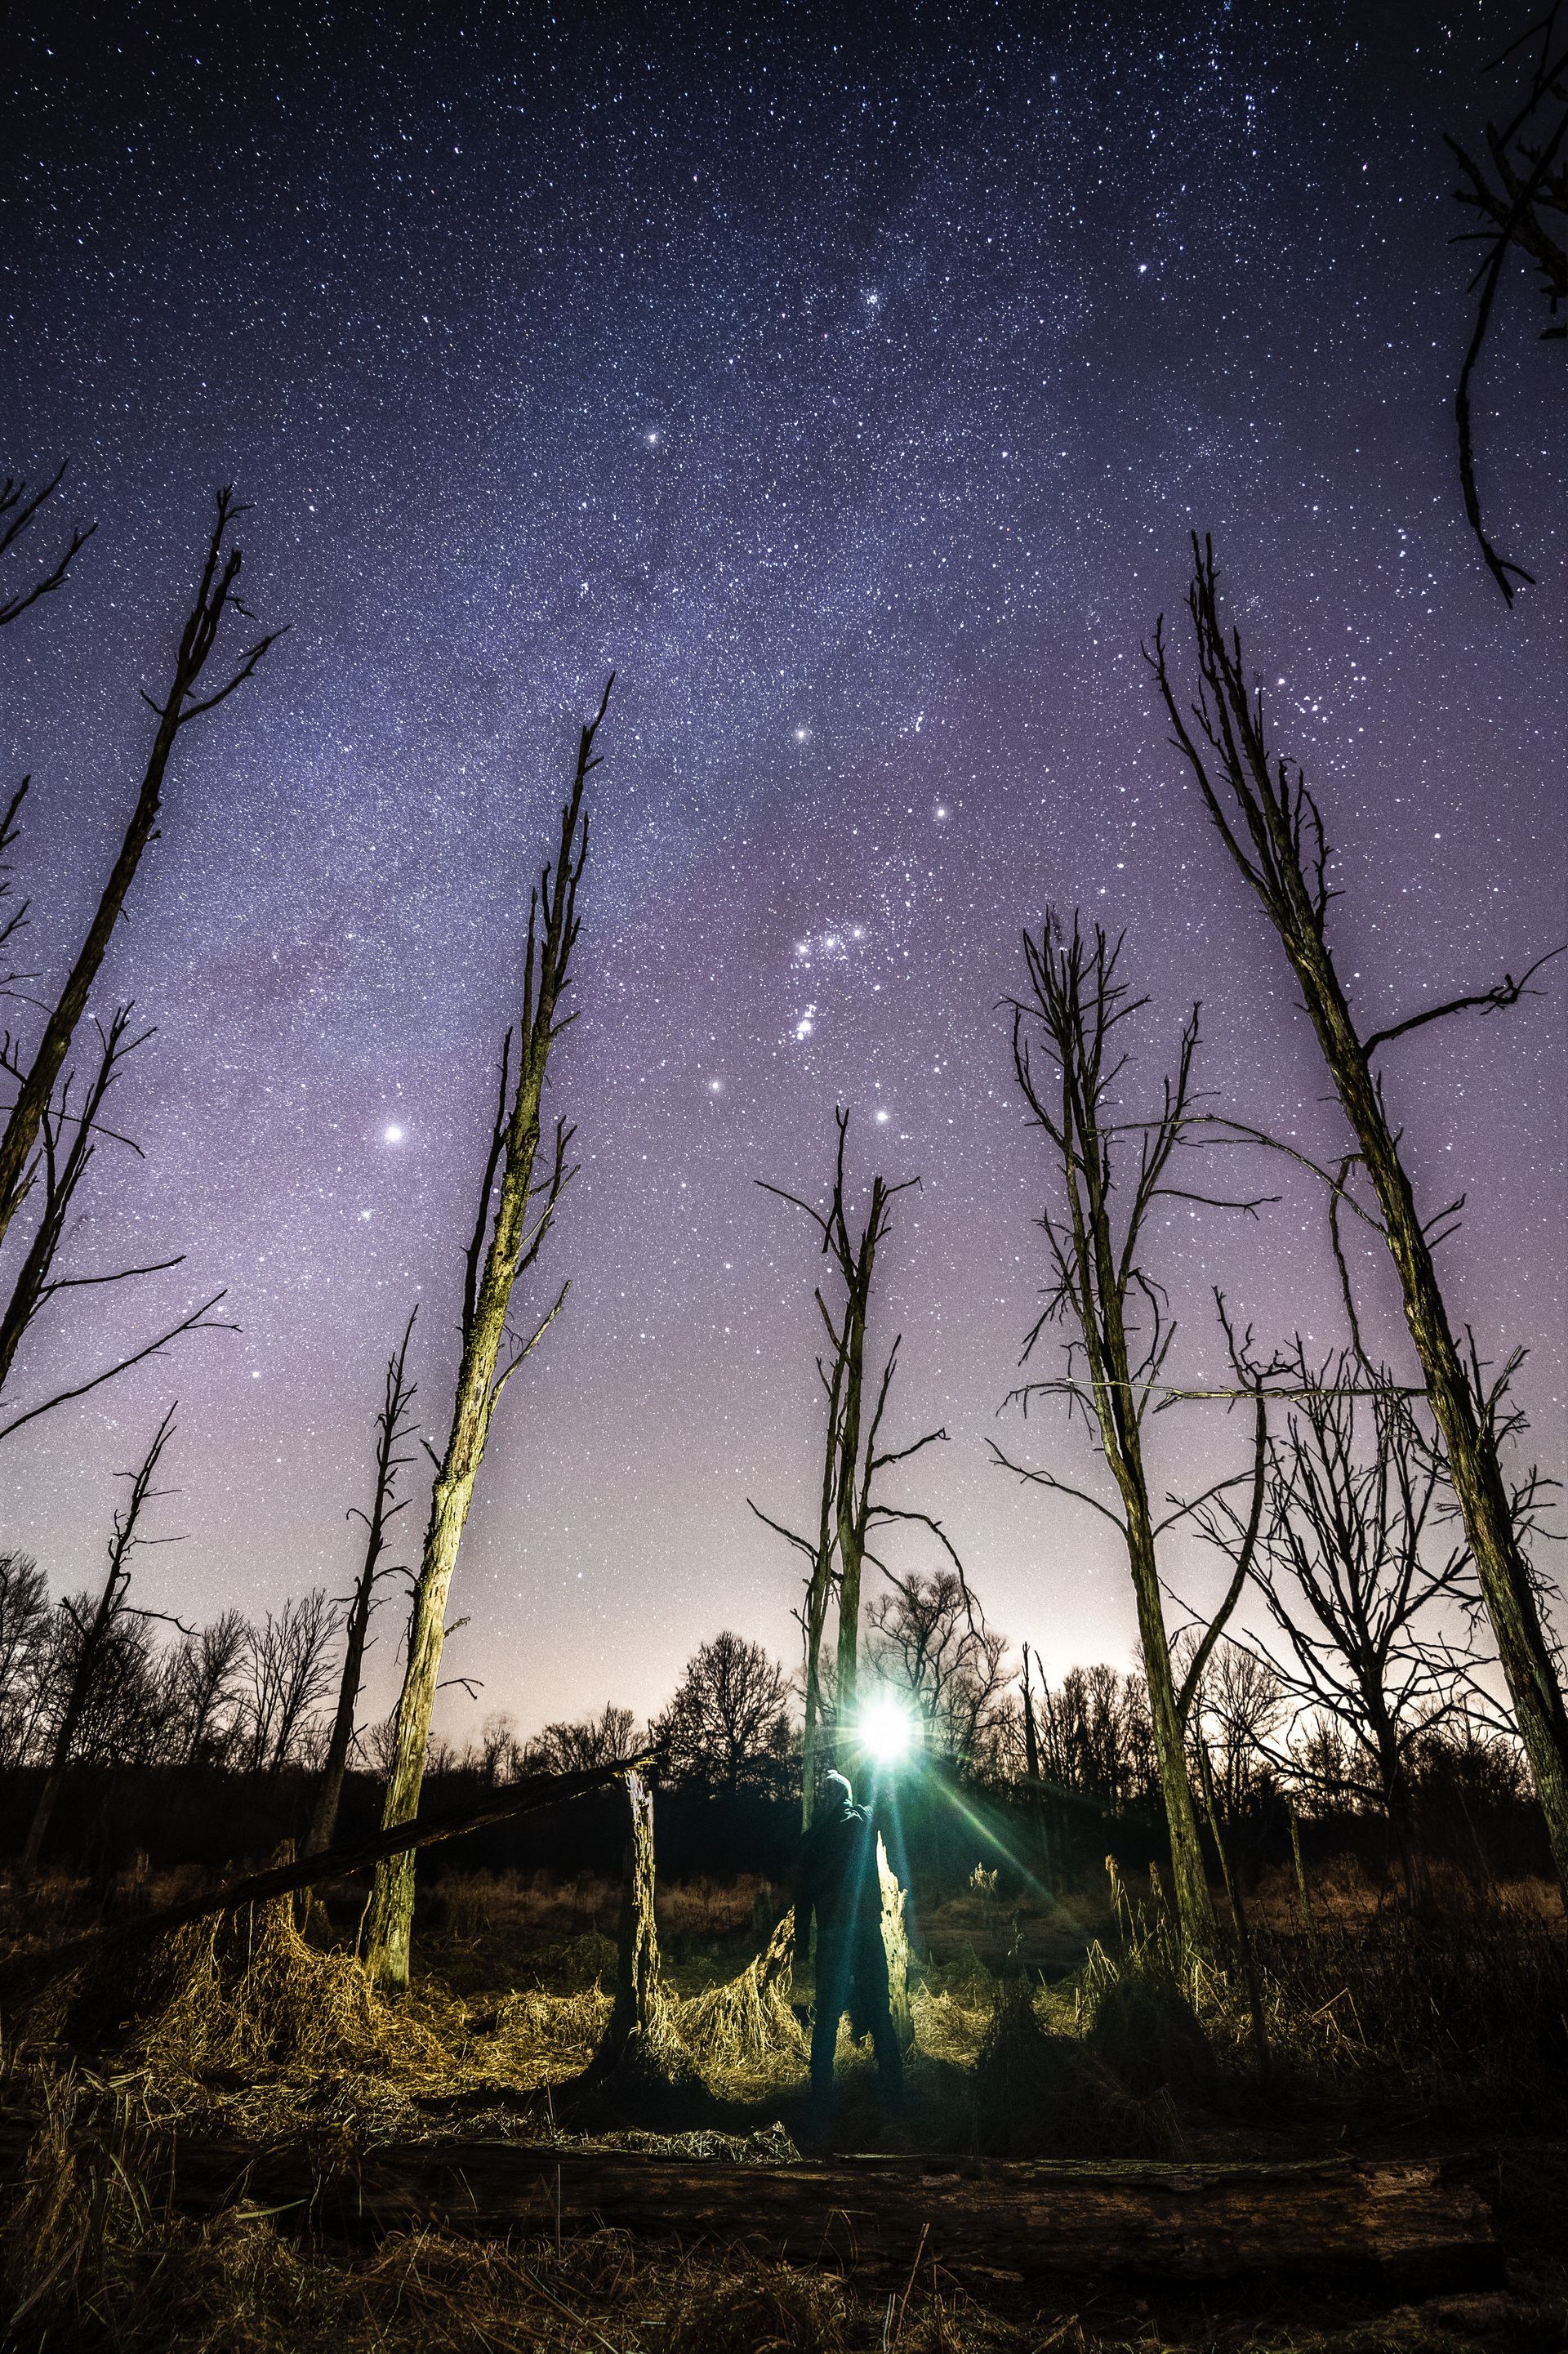

   3:Are there any post processing techniques that can enhance night photos?

A: Post processing is everything when it comes to bringing out the most details in your nighttime photos. Photoshop and Lightroom are probably the two best programs to utilize when post processing. It’s ideal to start in Lightroom to do basic edits and then bringing the photo into Photoshop to create more precise edits. Starry Landscape Stacker is a really good program to use for stacking photos through Mac. It’s extremely easy to use and very powerful. 
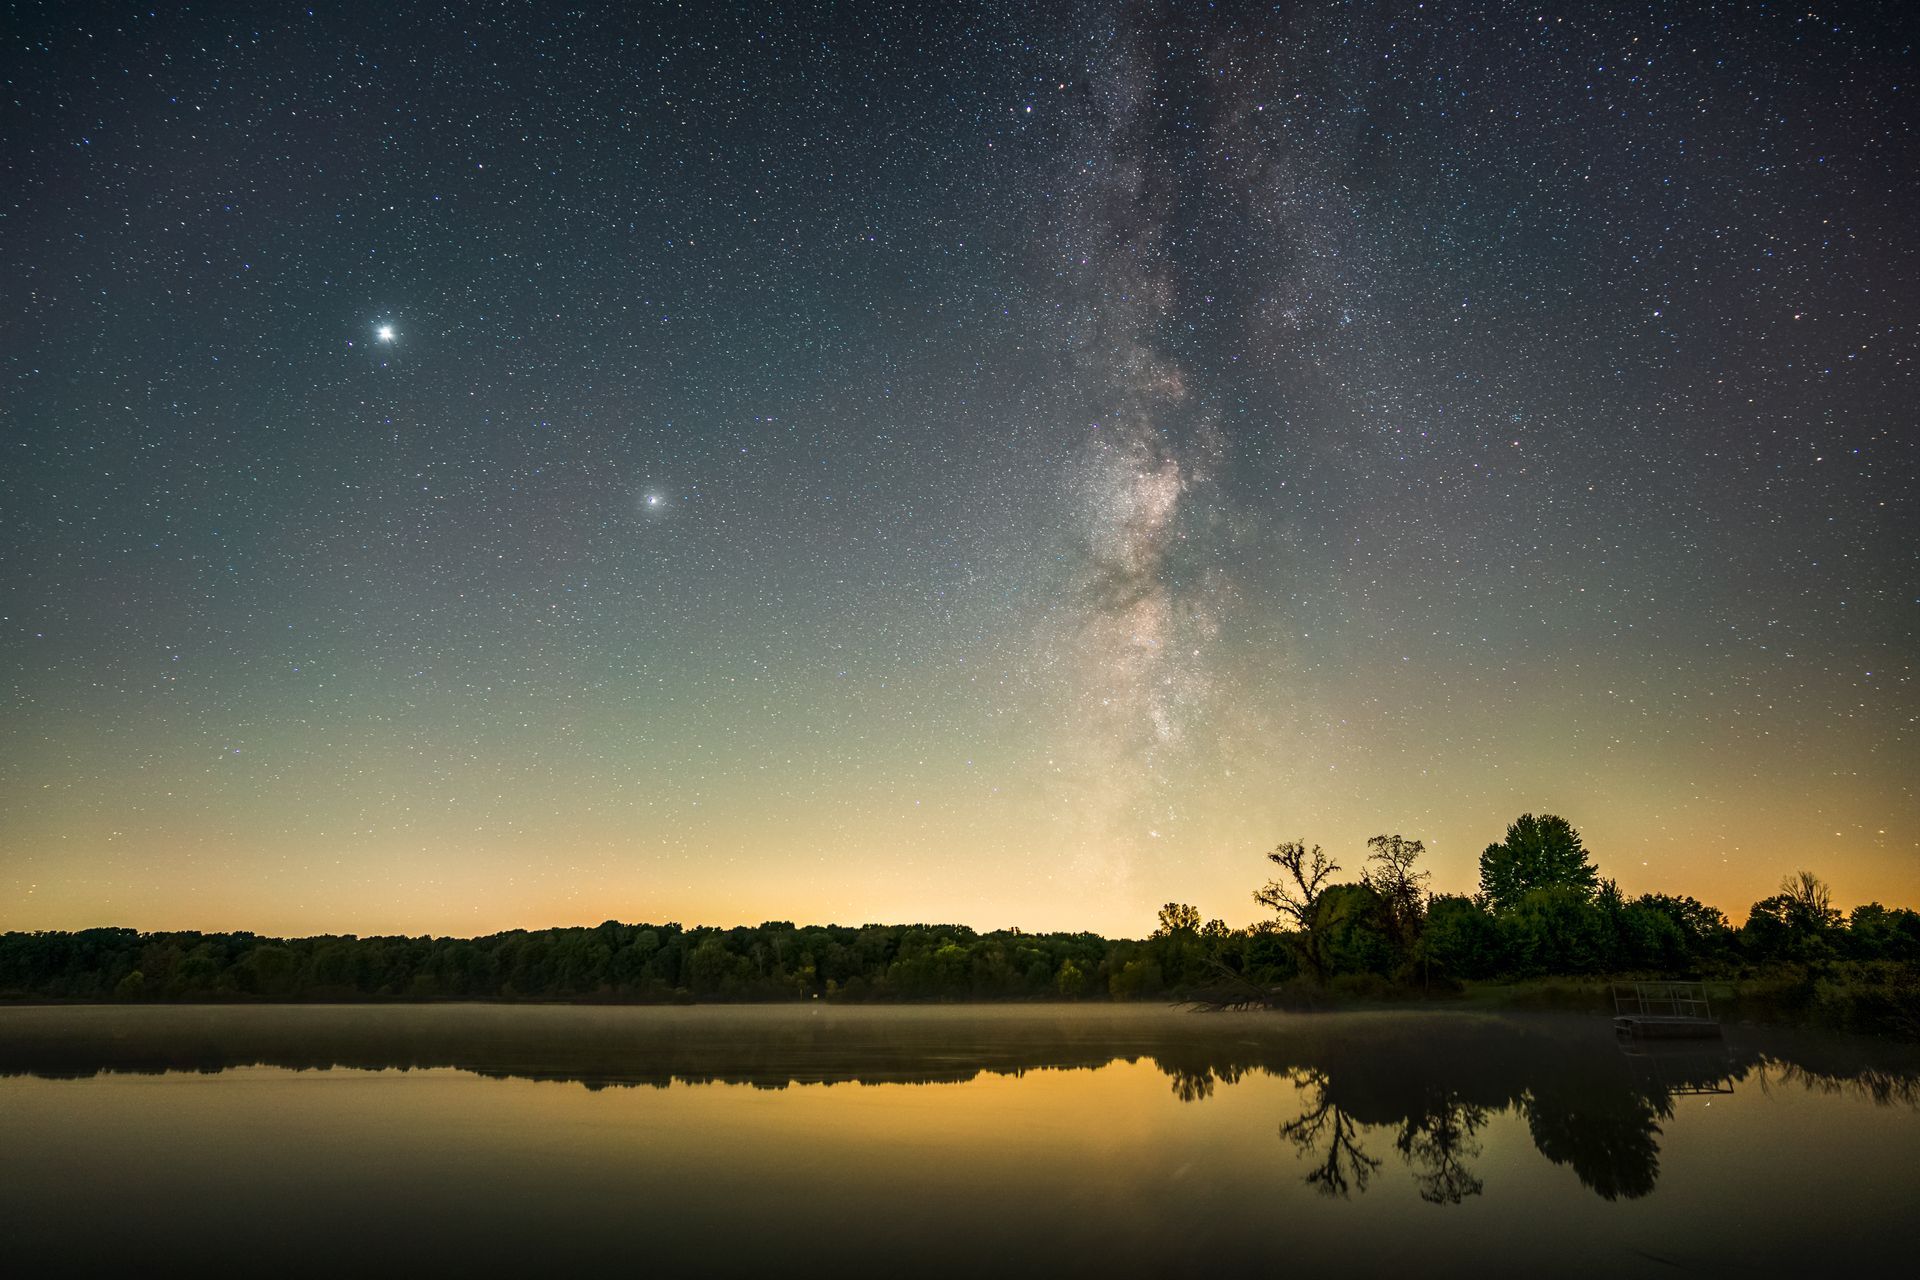
   4:What are some common challenges or obstacles that photographers face when shooting at night? How can these obstacles be overcome?

A: It’s difficult to know if you got the perfect focus or used the best settings until you get home from the shoot. The only way to feel more confident in this is practice. Be sure to go out whenever the sky is clear to get practice shots in. 
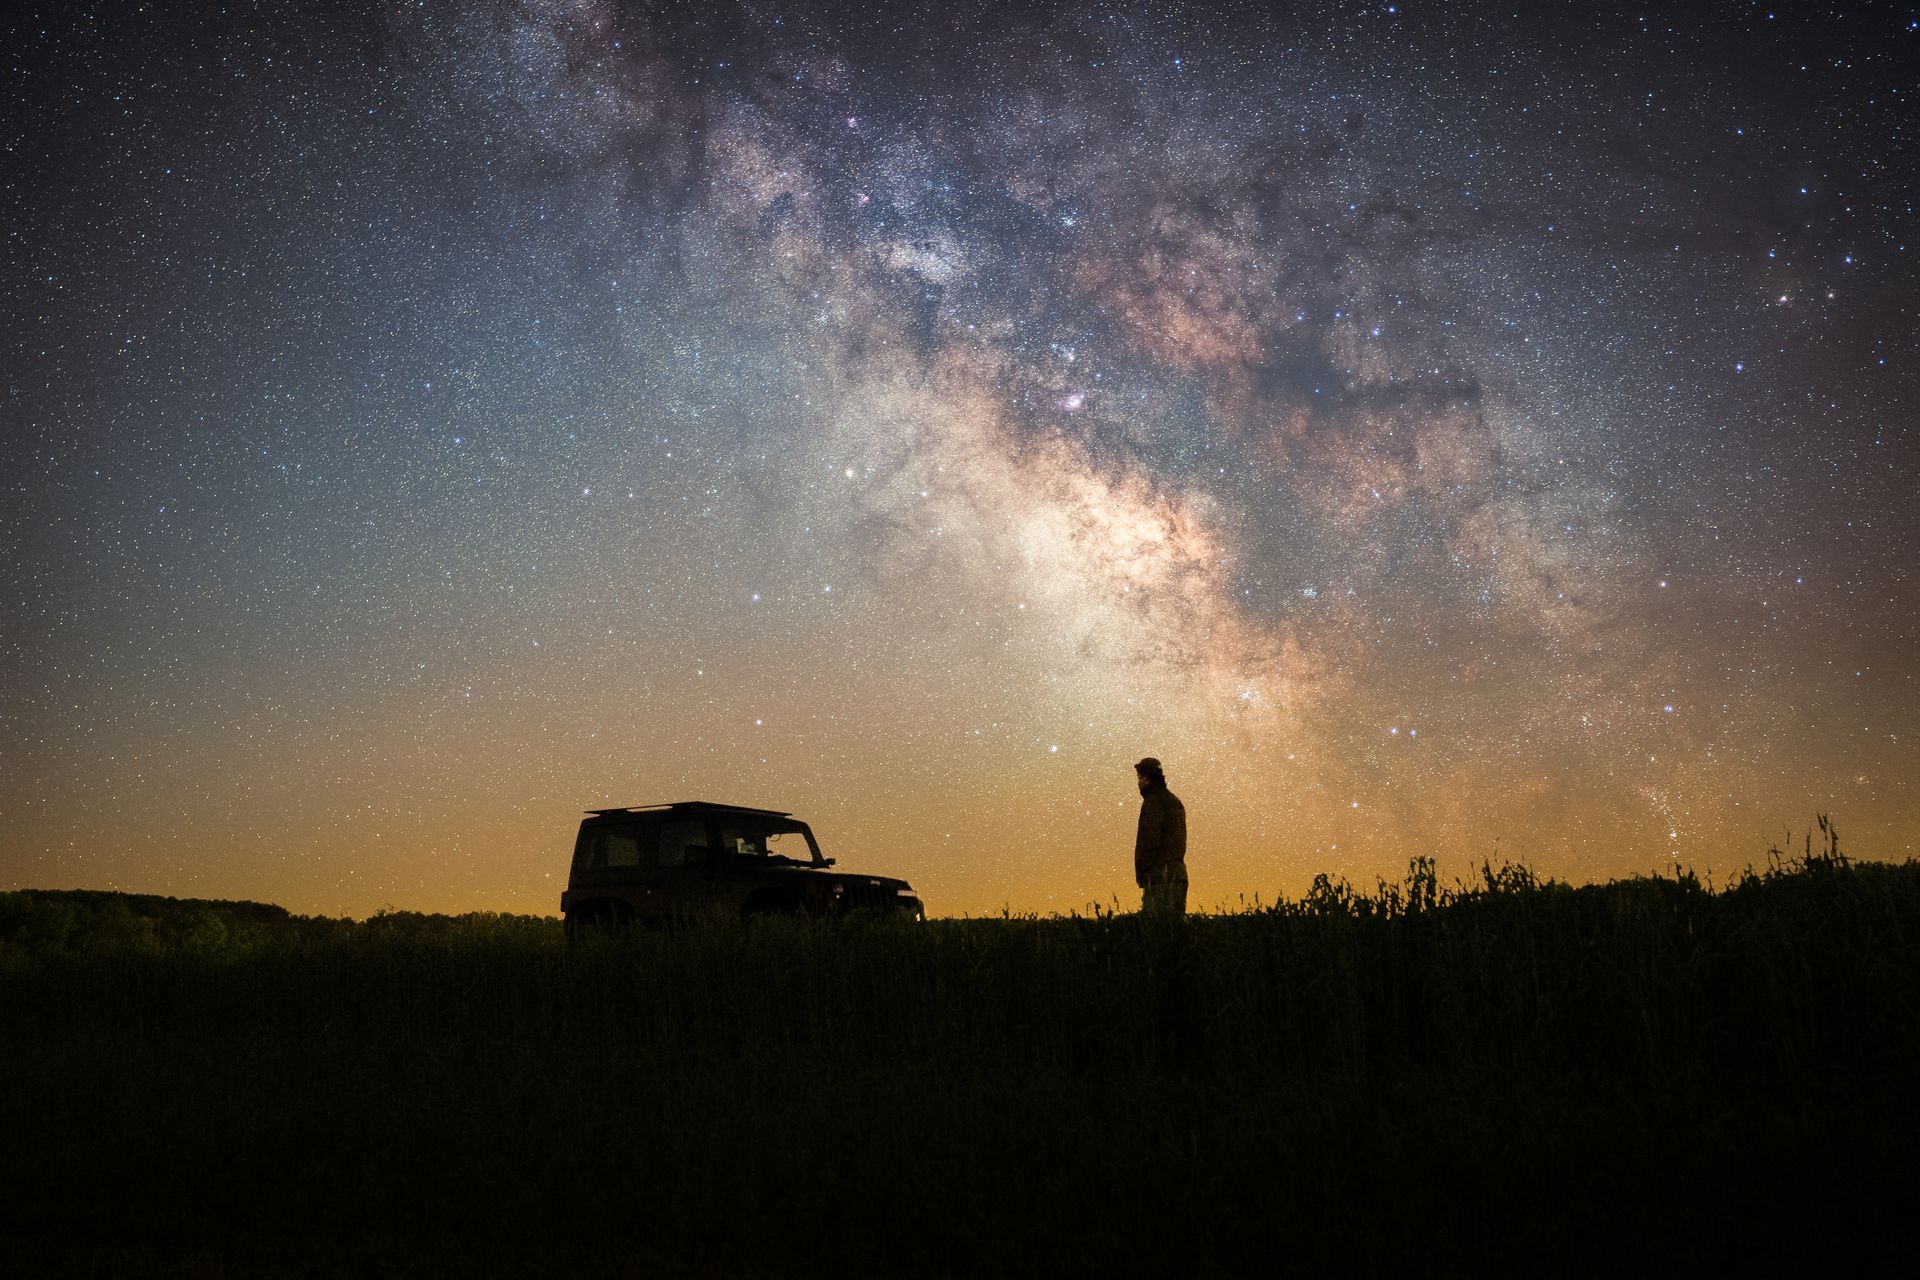
  5:Do you have any tips for any beginners who want to get into night photography?

A: 1. Shoot with people who are better and/or more experienced than you. They have already tried things that don’t work, so you’ll be able to avoid those mistakes. Learning from experience is one of the best ways to improve your craft. 

2. Shoot higher ISO and take multiple photos to stack.

3. The milky way is cool, but if you don’t have a good foreground, your photo will probably just be of the sky. Be sure to have a good foreground. 

Now that we have covered some key tips and tricks relating to the world of night photography, we hope to have given you some clarity on how to approach the craft of taking flawless night photos. While beginning your endeavor in the art of night photography, maintain your curiosity, creativity, and passion. These aspects will drive you in enhancing your craft and taking stunning shots. 
By David Shockey August 3, 2026
TIFF vs JPEG | Which File Format Should You Use? | Capture On Labs
By David Shockey July 29, 2026
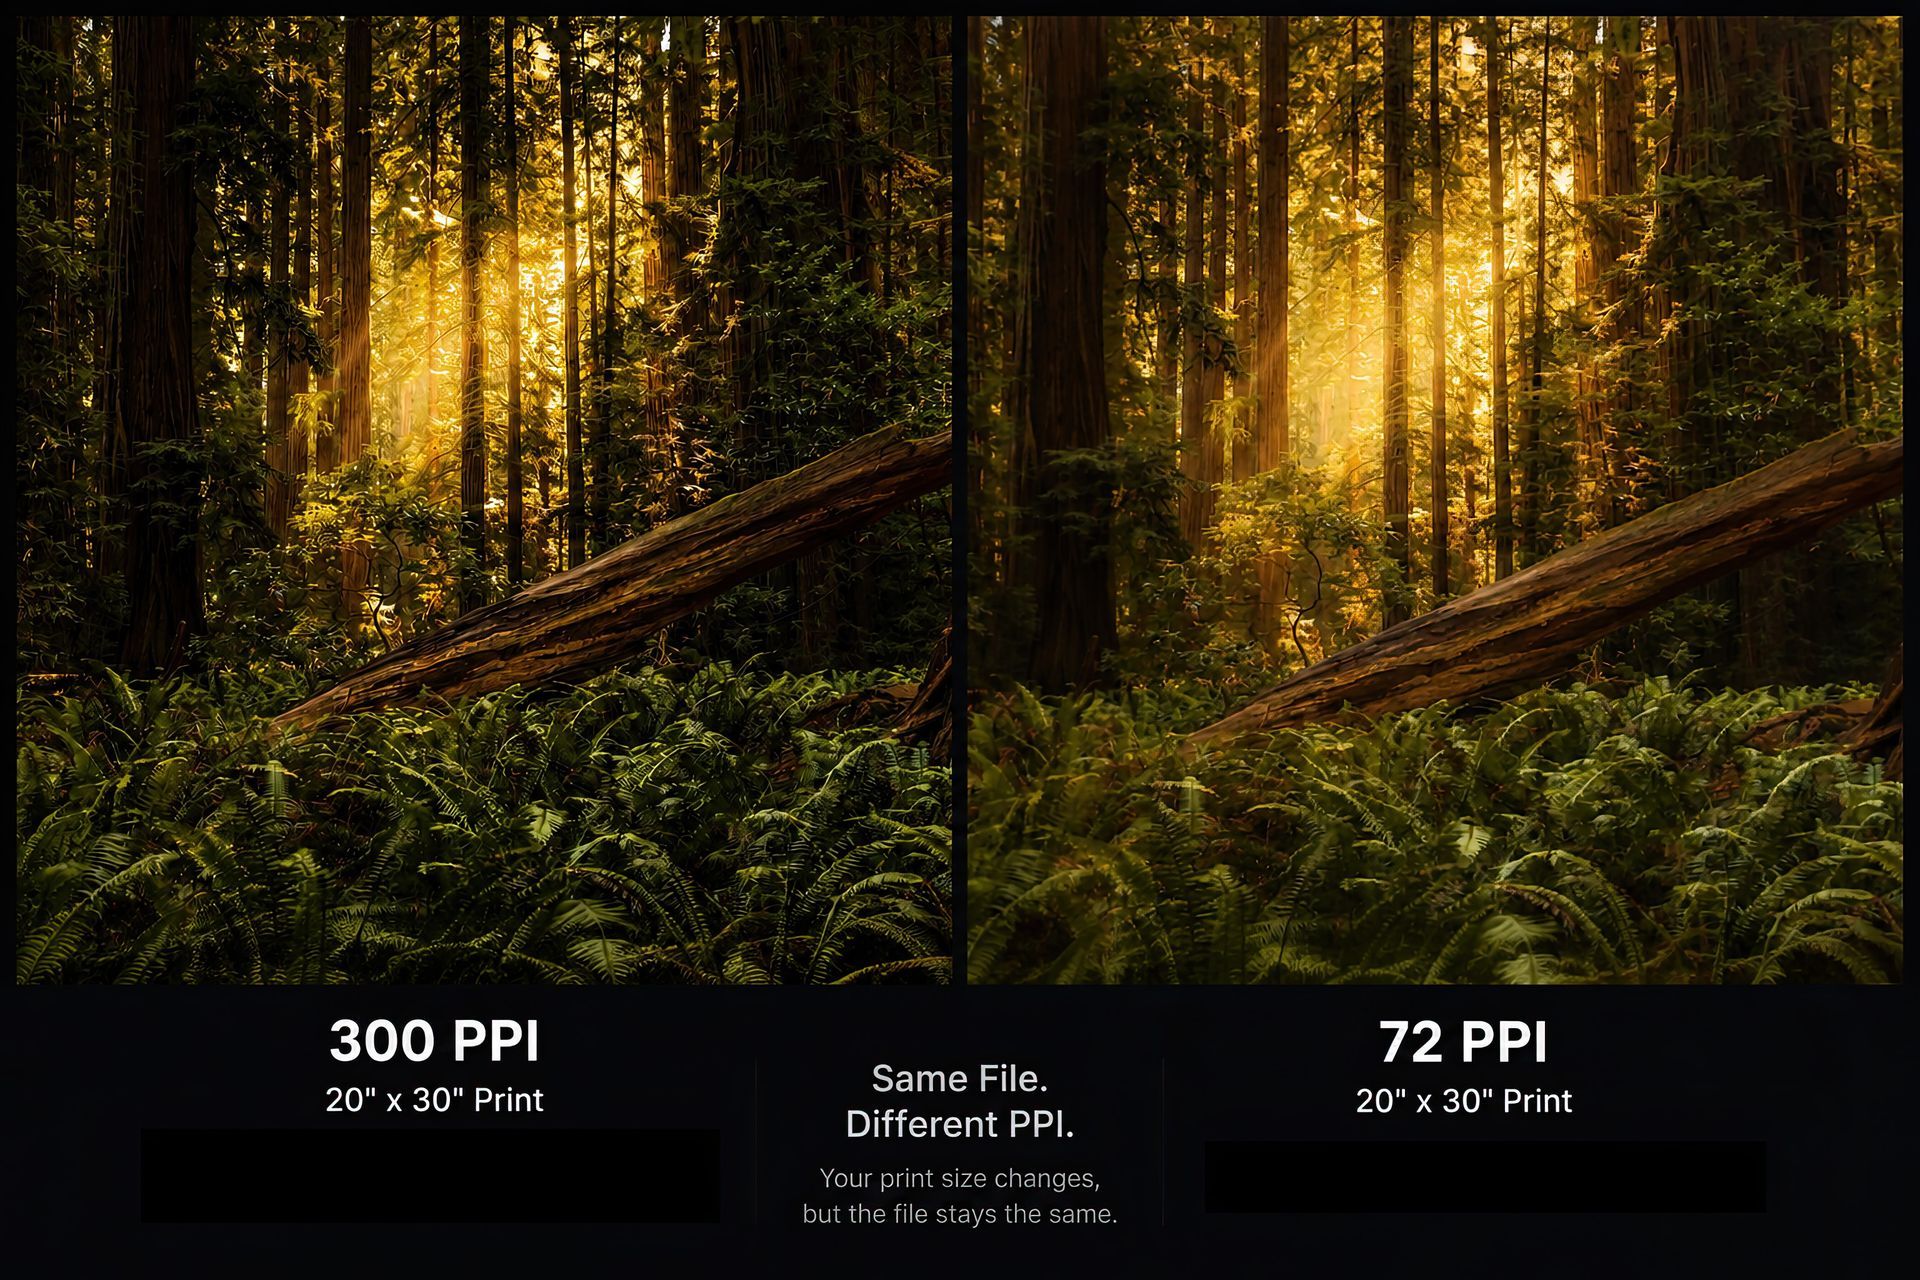
How Big Can I Print My Photo? Estimated Reading Time: 8 minutes One of the most common questions we hear at Capture On is: "How big can I print this?" It's a great question, but the answer isn't as simple as looking at your file size. A 12 MB photo might only make a sharp 16×20 print, while another 12 MB photo could look fantastic at 40×60. The difference comes down to the image itself, not just the number next to the file. To make things easier, we've built the calculator above. Select your image and it will estimate how large it can be printed based on its resolution. But before you make a decision, it's worth understanding what those numbers actually mean. Try Your Image First Use the calculator above to instantly see: Pixel dimensions Megapixel count Aspect ratio Recommended print sizes Whether standard print sizes will require cropping Your image is analyzed directly in your browser and is never uploaded or stored. What Determines How Large You Can Print? There are several factors that affect print size. 1. Pixel Dimensions This is the biggest factor. Every digital image is made up of tiny squares called pixels. For example: 6000 × 4000 pixels 4000 × 3000 pixels 2400 × 1600 pixels The more pixels your image contains, the larger it can generally be printed while maintaining fine detail. 2. Viewing Distance People often assume every print needs to be viewed from just a few inches away. That's not always the case. An 8×10 sitting on a desk is viewed from close range. A 40×60 hanging above a fireplace is usually viewed from several feet away. Since you're farther away, your eyes don't need the same pixel density to perceive a sharp image. That's why large wall art can still look incredible even if its resolution is lower than a smaller print. 3. Image Quality Resolution is only one part of the equation. A high-resolution image that is out of focus won't make a great print. Likewise, a slightly smaller image that is tack sharp can often produce an amazing enlargement. Things that affect print quality include: Focus accuracy Motion blur Camera shake Noise Compression Editing quality Sharpening AI upscaling The calculator can measure your resolution. It can't judge how good the photograph actually is. Understanding Print Resolution You'll often hear resolution measured in PPI, which stands for Pixels Per Inch. PPI tells us how many pixels will be printed into every inch of paper. As a general guideline: 300 PPI Excellent. Ideal for fine art prints, close viewing, and maximum detail. 240 PPI Great. Most photographers would struggle to see a difference compared to 300 PPI. 200 PPI Very good. Perfectly suitable for many medium and large wall prints. 150 PPI Often acceptable for oversized artwork viewed from farther away. This is why billboards don't need thousands of pixels per inch. They're designed to be viewed from a distance. Bigger Isn't Always Better Many people assume they should always print at the largest size possible. I don't necessarily agree. Sometimes an image has incredible detail and deserves a 40×60 print. Sometimes the same photograph has a stronger impact at 16×24. The right size depends on: The amount of detail in the image Viewing distance Where it will hang The emotional impact you're trying to create We've seen photographs become more powerful by printing them smaller and giving them room to breathe with a wide mat and custom frame. Cropping Matters Too Not every photograph matches standard print sizes. For example: A camera may produce an image with a 3:2 aspect ratio. An 8×10 print uses a 5:4 ratio. That means some cropping is required. Our calculator estimates whether cropping will be needed for common print sizes so there are no surprises before you order. What About Phone Photos? Modern smartphones are surprisingly capable. Many newer phones produce files that can comfortably print at: 8×10 11×14 16×20 Some can even produce excellent 20×30 prints under the right conditions. The biggest limitation usually isn't the phone. It's whether the photo is sharp and taken in good light. Can AI Make My Photo Larger? AI enlargement software has improved over the past few years. Sometimes it can produce impressive results. Sometimes it simply creates believable-looking detail that wasn't actually there. We generally recommend starting with the original file whenever possible. If enlargement is necessary, we'll let you know whether AI is likely to improve the final print. Our Recommendation Use the calculator as a starting point, not as the final answer. It provides an excellent estimate based on your file's resolution. If you're investing in a large print or custom-framed piece, we'd much rather spend a few minutes reviewing the image than have you order something you're unsure about. Sometimes we'll tell you it can go even larger than the calculator suggests. Sometimes we'll recommend scaling back. Either way, our goal is to help you end up with a print you'll be proud to hang on your wall. Frequently Asked Questions Does a larger file always make a better print? Not necessarily. A large image that's soft or blurry won't print as well as a smaller image that's sharp and properly edited. Can I print an image from Facebook or Instagram? Usually not at large sizes. Social media platforms compress images to reduce file size, which removes detail. Whenever possible, use the original file from your camera or phone. What if my image isn't large enough? Depending on the image, we may be able to recommend a smaller print size or discuss AI enlargement options. Why does your calculator say cropping is required? Your image and the print size use different aspect ratios. This is completely normal and affects many photographs. Should I trust the calculator or ask Capture On? The calculator is a great starting point. If you're ordering a statement piece or custom framing, we're always happy to review your file and make a recommendation. 
By David Shockey June 19, 2026
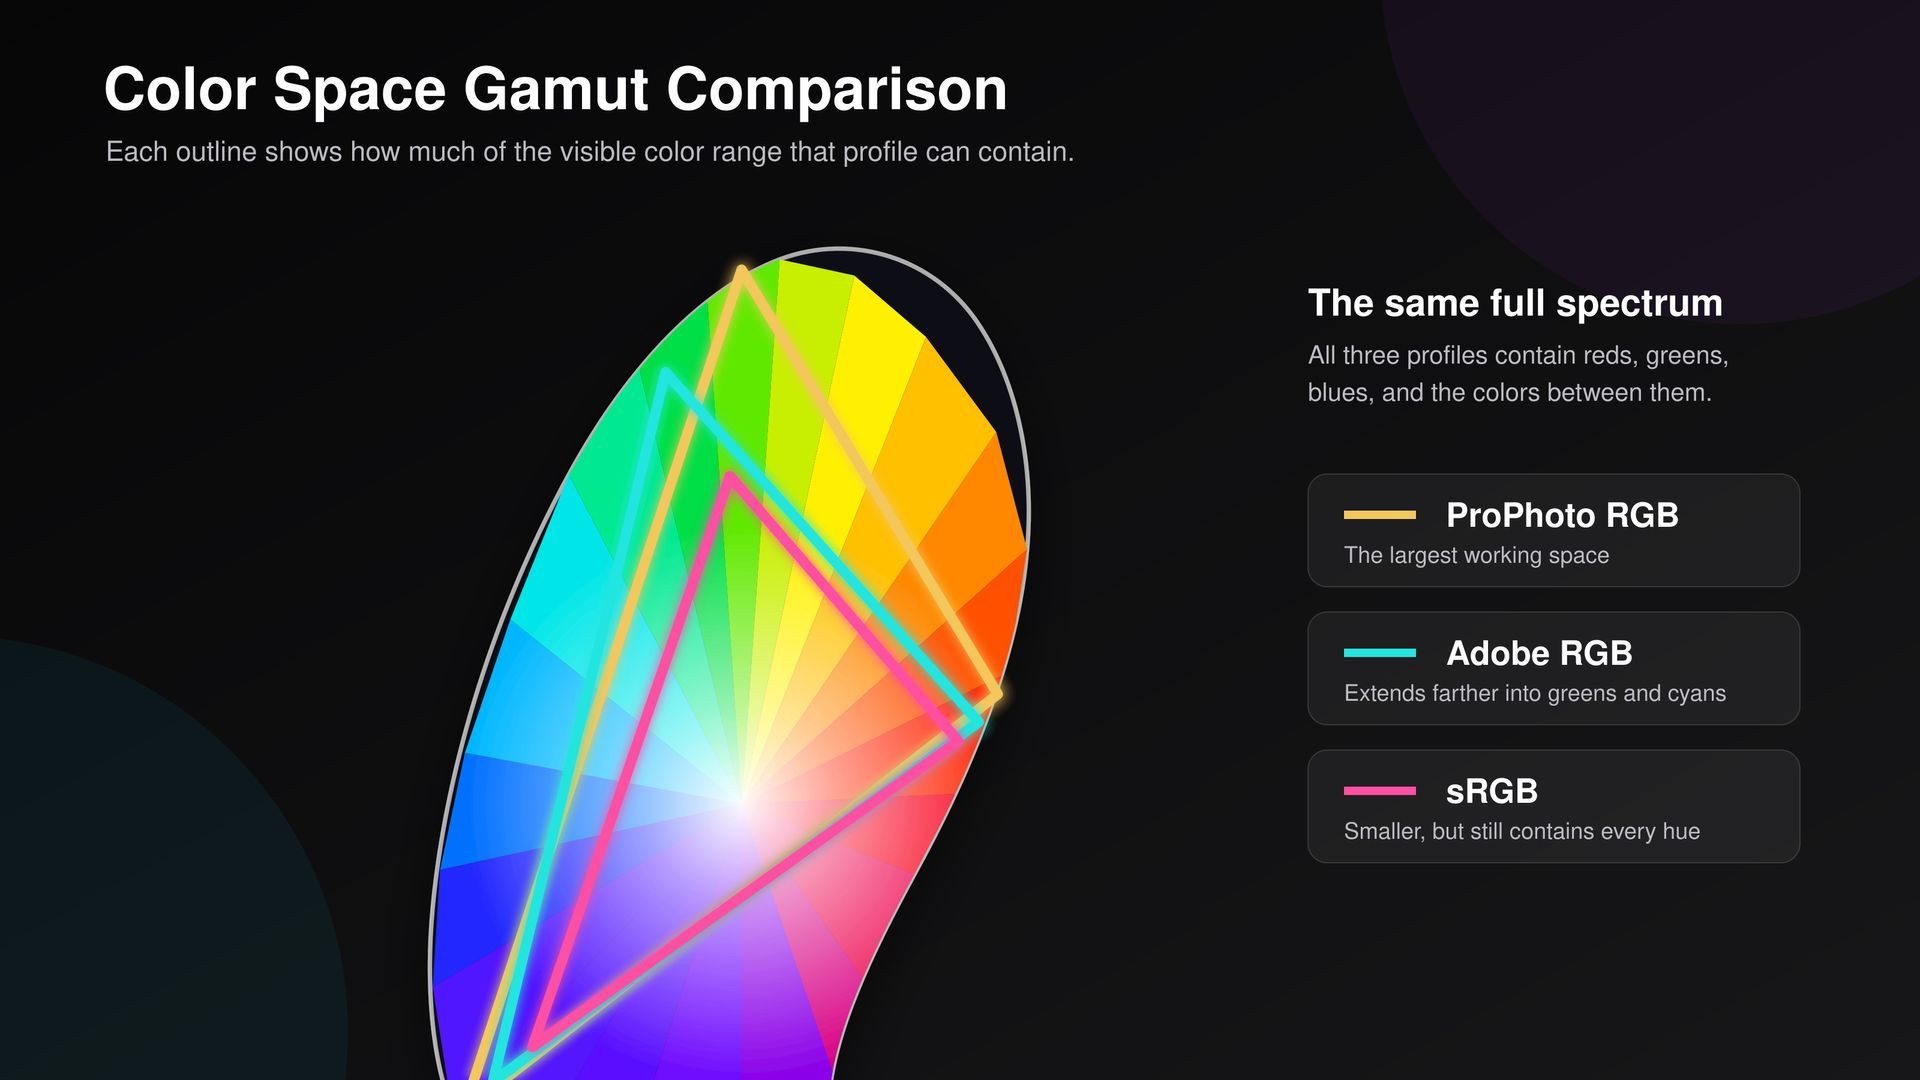
A complete guide to preparing photos for print, including color spaces, soft proofing, resolution, sharpening, and choosing the right paper.